
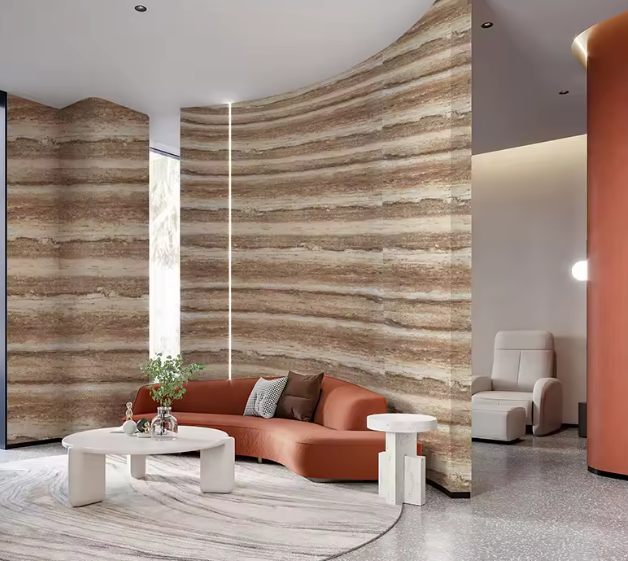
A fireplace surround is not detailed like an ordinary feature wall. The finish sits within a coordinated appliance zone, where the fireplace manufacturer’s installation manual, the applicable code, the wall assembly, and the surrounding materials all have to agree.
This is where Flexible Natural Stone by Angkop Corp should be treated as a thin-profile architectural surface, not as a replacement for the wall construction behind it. MCM describes the material technology used to form the panel. Flexible Natural Stone is the architectural surface; MCM describes the material technology beneath it.
The typical profile is approximately 2–5 mm, depending on the product profile. That slim build-up can make transitions easier to coordinate, but it does not remove the need to resolve substrates, clearances, movement, corners, and terminations as part of the complete assembly.
This article focuses on those detailing decisions. It does not replace the separate guide covering the broader specification of Flexible Natural Stone for fireplace surrounds.
Why the fireplace zone is different from an ordinary wall
A feature wall is usually reviewed as a finish over a prepared substrate. A fireplace zone has additional conditions:
- The appliance has manufacturer-defined clearance requirements.
- The surrounding wall may include combustible and non-combustible materials.
- The substrate extents may be governed by the appliance manual, code, or the approved wall assembly.
- Mantels, shelving, televisions, millwork, trims, and adjacent finishes may all affect the layout.
- The finish may meet metal, masonry, board, drywall, glass, or another material at several points around the opening.
The first question is therefore not how to cut the panel. It is whether the proposed surface, adhesive, substrate, and adjacent materials are permitted within the specific fireplace installation.
Before detailing, confirm:
- The fireplace type and model.
- The current installation manual.
- Required clearances to combustibles.
- The extent of any required non-combustible substrate.
- The local code requirements and authority-having-jurisdiction requirements.
- The compatibility of the selected panel, adhesive, substrate, and installation condition.
All clearances and non-combustible extents belong to the fireplace manufacturer and the applicable code. They must not be inferred from the appearance or thickness of the surface finish.
The Angkop Resource Hub identifies decorative electric fireplace surrounds as an application to review when the manufacturer’s clearances and local code requirements are satisfied. The same coordination principle applies: the appliance documentation establishes the permitted installation zone.
Confirm the substrate before drawing the finish
Flexible Natural Stone is installed over a substrate. It does not replace framing, sheathing, board, masonry, fire separation, insulation, barriers, or other components required by the wall assembly.
At a fireplace, the substrate question should be drawn before the surface pattern is finalized. Ask:
- What material is directly behind the finish?
- Is it stable, clean, dry, and suitable for the selected adhesive?
- Does the substrate extend through the entire area required by the fireplace manual?
- Are there changes in board type around the firebox?
- Does the substrate remain continuous at returns, corners, and adjacent wall planes?
- Are there joints, fasteners, penetrations, or movement conditions that need to be addressed before bonding?
The required non-combustible substrate extents are project questions. They may vary with the appliance, enclosure, construction type, and adopted code. Do not assign a universal border around the opening without reviewing the applicable documentation.
The Installation Guide calls for the assembly to be confirmed before bonding. It also directs the installer to verify the substrate, adhesive, tools, site conditions, movement provisions, and local requirements for the actual project. Heat-adjacent installations should be assessed by a qualified installer or design professional where the assembly is uncertain.
How to approach corners at a surround
The corner strategy should be selected during layout, not after the field panels have been cut. The right approach depends on the product profile, surface pattern, corner geometry, panel direction, and the visual character of the project.
Mitred corners
A mitred corner brings two cut panel edges together at the outside corner. It can suit a controlled, architectural expression where the surround is intended to read as a crisp plane.
This approach is often useful when:
- The surface has a linear or disciplined pattern.
- The corner is clearly visible from the room.
- The design calls for a sharp change of plane.
- The installer can control the cut, edge alignment, and joint treatment.
- The selected product profile supports the proposed cut and finish.
A mitre requires careful dry planning. Confirm the face direction, pattern continuity, edge colour, and how the joint will appear under the project lighting. The joint at the corner should be coordinated with the adhesive and finishing materials selected for the assembly. Do not assume that a mitred joint can be treated identically to a drywall corner or a conventional stone slab.
Wrapped corners
A wrapped corner carries one panel across the corner and onto the adjoining plane. It can suit a softer transition, a continuous material expression, or a surround where the design benefits from fewer visible corner joints.
A wrapped corner may be appropriate when:
- The selected panel can bend in the required direction.
- The corner geometry is compatible with the product profile.
- The surface pattern can continue without an awkward break.
- The panel can be supported and bonded consistently through the change of plane.
- The installation guide and current product information support the proposed method.
Do not assume that every Flexible Natural Stone product can be wrapped around every corner. Confirm the panel’s bend direction, the project geometry, and any product-specific radius or handling requirements before committing to the detail.
Where the corner is too tight, irregular, exposed, or difficult to align, a planned joint or trim may provide a more reliable result than forcing a continuous wrap.
Resolve exposed edges and terminations
A surround typically has several exposed edges:
- At the perimeter of the firebox opening.
- At the end of a return.
- Where the feature wall stops at drywall.
- At a mantel or shelf.
- At a change in substrate.
- At the floor, hearth, ceiling, or adjacent millwork.
- At an inside corner or recessed niche.
Each edge should have a defined termination. A cut panel should not simply stop wherever the installer runs out of material.
Common strategies include:
- A clean straight termination aligned with an architectural datum.
- A planned reveal between the stone surface and the adjacent finish.
- A compatible trim used to protect and define the edge.
- A return onto the adjoining plane.
- A coordinated flexible joint where movement or material change requires one.
The termination should be shown in section wherever the edge is close to the fireplace opening or another material. Identify the substrate, panel, adhesive, trim or joint treatment, and adjacent finish. If the edge is exposed to conditions governed by the fireplace manufacturer, confirm that the complete detail is permitted before installation.
The Installation Guide advises planning cuts, openings, seams, edges, movement provisions, and perimeter conditions before bonding. That planning is particularly important around a surround because later access may be limited by the appliance, mantel, millwork, or finish sequence.
Transitioning from the feature wall to adjacent finishes
A fireplace wall often meets painted drywall, plaster, wood, tile, millwork, metal, or another stone surface. The transition should reinforce the architectural composition rather than appear as an unplanned stop.
Useful layout questions include:
- Should the stone align with the firebox, the wall return, the mantel, or a nearby opening?
- Should the feature wall stop at a corner or continue into an alcove?
- Does the adjacent finish need to remain removable or serviceable?
- Will the two materials move differently?
- Does the transition require a reveal, trim, sealant joint, or separate termination?
- Is the selected edge detail compatible with the thickness of both finishes?
The thin profile of Flexible Natural Stone can help coordinate with adjacent finish layers, but the transition still depends on the actual build-up. Confirm the wall plane before ordering material. A small difference in substrate preparation can become visible where stone meets a painted surface or trim.
The Interior Wall System collection can be reviewed when the fireplace is part of a larger feature-wall composition. Use samples to check texture, colour variation, panel direction, and how the selected surface meets the other finishes in the room.
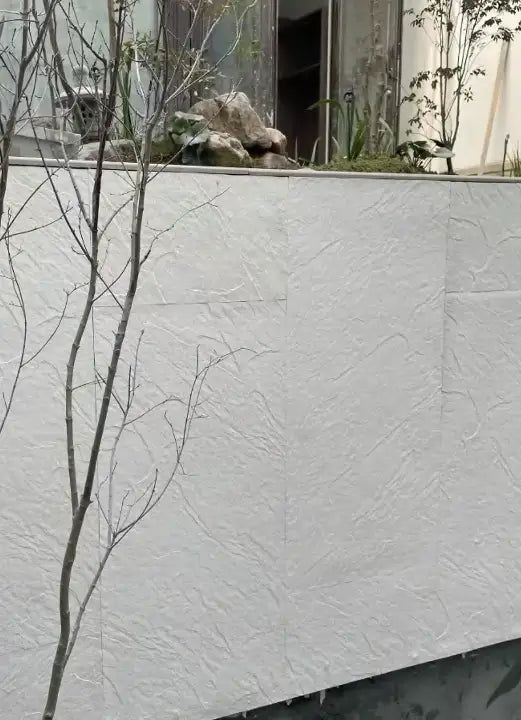
Sequence the work so the details meet cleanly
A clean fireplace transition depends as much on sequencing as on cutting.
1. Confirm the appliance and code requirements
Obtain the current fireplace installation manual. Mark the appliance opening, required clearances, combustible materials, non-combustible substrate extents, mantel conditions, and any other controlled zones on the working drawings.
2. Confirm the wall assembly
Identify the framing, board, masonry, sheathing, barriers, penetrations, and finish substrates. Resolve any required changes before the surface finish is ordered.
3. Set the visual datum
Choose the controlling lines for the feature wall. These may include the centreline of the fireplace, the opening edges, a mantel, a ceiling line, a return, or a nearby door or window.
4. Dry-plan the panels
Lay out the panels without bonding them. Plan the corner approach, pattern direction, cuts, seams, returns, edge conditions, and transitions to adjacent finishes.
5. Confirm adhesive compatibility
Select the adhesive through the adhesive manufacturer’s current instructions for the panel, substrate, and installation condition. Angkop’s Installation Guide directs installers to use an adhesive verified for the flexible stone panel, substrate, and location. Do not prescribe an adhesive based only on its general construction use.
6. Install the surrounding finishes in the correct order
Coordinate blocking, substrate work, appliance installation, mantel or millwork, adjacent wall finishes, and Flexible Natural Stone. The correct sequence depends on the assembly. In some projects, the appliance and substrate are established first, followed by the surround finish. In others, millwork and trim establish the final edge conditions. The drawings should make that responsibility clear.
7. Inspect before the joint is closed
Before completing a reveal, trim, or flexible joint, check the panel alignment, corner continuity, edge condition, and relationship to the appliance opening. A small correction is easier before the adjacent finish is complete.
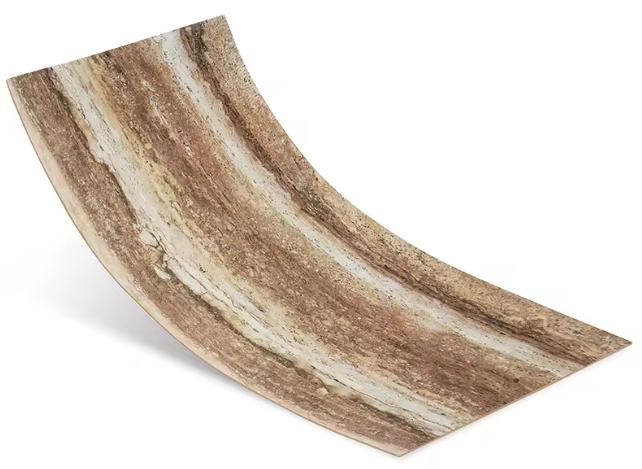
Keep fire-performance documentation in its proper scope
A 2025 SGS report documents a 2.5 mm Modified Clay Material specimen tested in accordance with ASTM E84-24, reporting FSI 0 and SDI 5, meeting the Class A interior wall and ceiling finish category for that tested specimen. The full assembly is reviewed separately.
This surface-burning result is not a fireplace rating, clearance approval, temperature limit, or rating for the complete wall assembly. Review the applicable ASTM E84 documentation together with the specified panel, substrate, adhesive, appliance requirements, and local code.
For documentation specific to a project, use the Resource Hub or Request technical documentation. To evaluate colour and texture at the design stage, Request samples. For project-specific coordination, Contact specification support.
Practical specification checklist
- Fireplace model and current installation manual identified.
- Applicable code requirements and authority-having-jurisdiction review confirmed.
- Clearances to combustibles confirmed from the fireplace manufacturer and code.
- Required non-combustible substrate extents documented as a project-specific condition.
- Flexible Natural Stone identified as a finish within the complete wall assembly.
- Substrate condition, continuity, stability, and suitability confirmed.
- Panel profile, orientation, pattern direction, and proposed corner radius reviewed.
- Mitred, wrapped, jointed, or trimmed corner strategy selected before fabrication.
- Firebox opening, mantel, hearth, ceiling, and adjacent finish terminations drawn.
- Adhesive compatibility confirmed through current manufacturer instructions.
- Seams, movement provisions, reveals, trims, and perimeter joints coordinated.
- Installation sequence assigned between appliance, substrate, finish, millwork, and trim trades.
- ASTM E84 documentation reviewed only for its tested specimen and stated scope.
- Samples and technical documentation reviewed before final approval.

0 commentaire